
It’s no secret that I love dolls. Thankfully, my daughters also love dolls and we get to play and design new things together – which is exactly what we’ve done today.
Their friend happens to have the Monster High Clawdeen’s Bunk Bed, which is pretty cool but out of my price range for a doll bed. Sooo, we decided to make one!

Pretty rad right?!
Here is what we used: cardboard, duct tape, dryer lint (seriously), fabric, ribbon and a hot glue gun.
The dimensions are 11.5 inches long, 5 inches wide and 2.25 inches high. Which I cut out of a pizza box! I drew it out in one piece, with the sides attached to the top, which looks like a big fat plus sign once it’s cut out. Since the cardboard from the pizza box was thick I scored all 4 sides of the bed so it would be easier to fold and then duct taped the sides together. Then I went back and added some extra strips of cardboard on the inside for added support and duct taped those down as well.
This is what it looks like from underneath, had I thought it would come out so cool I would have taken pictures of the whole process, but I think you can get a good idea from this:
 Now if you’ve ever seen a fashion doll bed you know they are typically hard plastic, which doesn’t look very comfy so I added some padding. Lacking any polyfill, I went over to my dryer and plucked a handful of lint out of the bag I keep hanging there just for that purpose – see, I really do try to reuse everything!
This is super easy. I picked out the fabric, laid it out right side down, placed the bed frame on it and cut an inch and a half around the whole thing. Then I took the lint and laid it out on the fabric roughly in the shape of the bed, placed the bed frame on top of the lint and taped the fabric to the sides pulling it tight as I went.
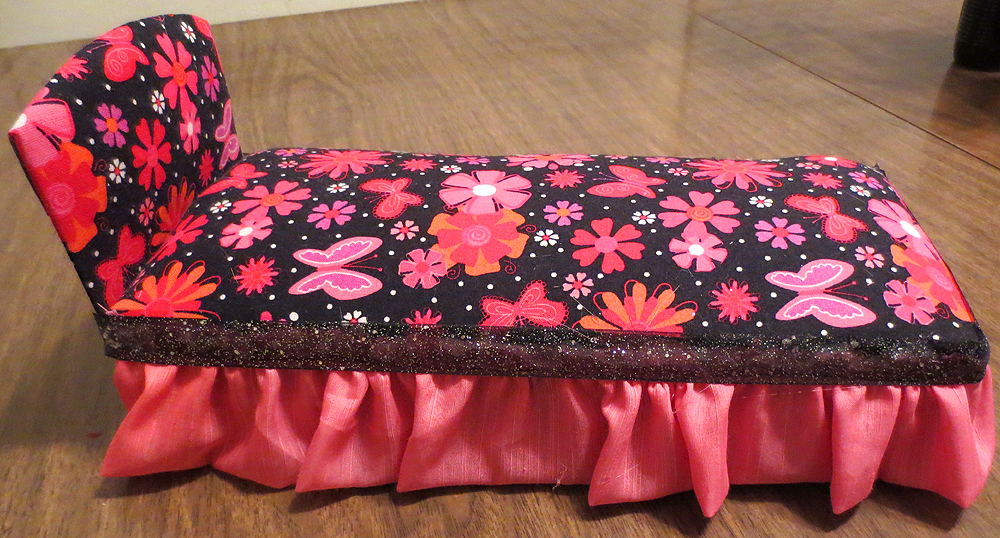 The picture doesn’t do it justice, it is quite soft and comfy! I added a little poof to the headboard as well in the same manner and just lined it up and duct taped it onto an end of the bed frame.
For the ruffle I just measured the 3 sides of the bed that I wanted it to go on and cut the pink fabric double the length. Then I basted, gathered it and hot glued it on. Seeing as the edges were rough I went back and hot glued the black glittery ribbon on top of the raw ruffle edge. And thats it! I didn’t really NEED to make the pillow and blanket…. um no that’s not right, I did. I really did need to make them!
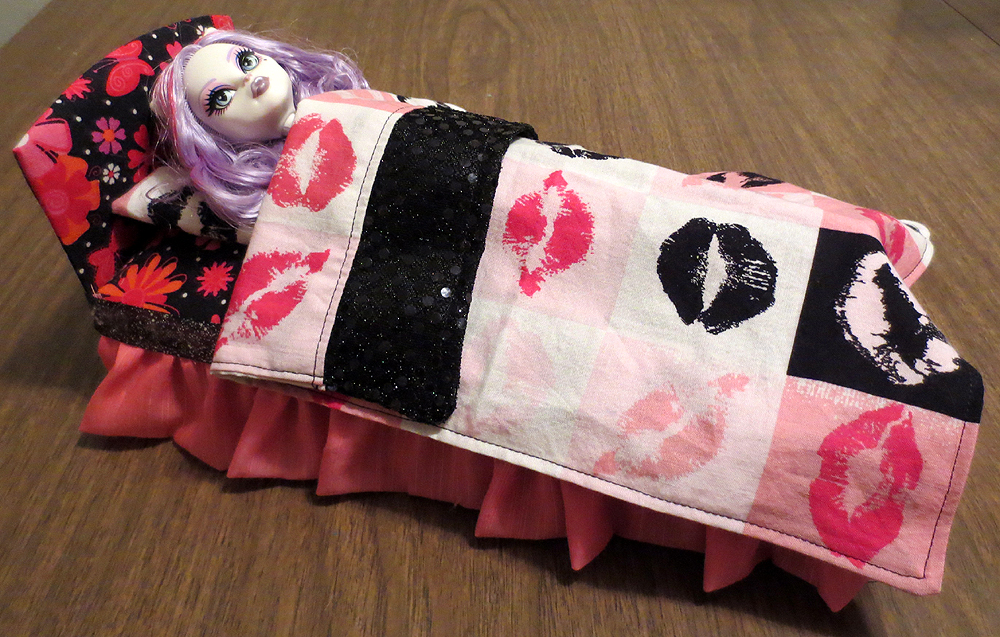
 This lipstick kiss fabric was on clearance in Walmart one time while I was passing by – oh who am I kidding, I never just pass the fabric by. I thought I would never really have a use for it being a Valentine-ish print, but it was $1.20 a yard – so yeah, I wasn’t passing that up! And it really is a good fit with the Monster High dolls.
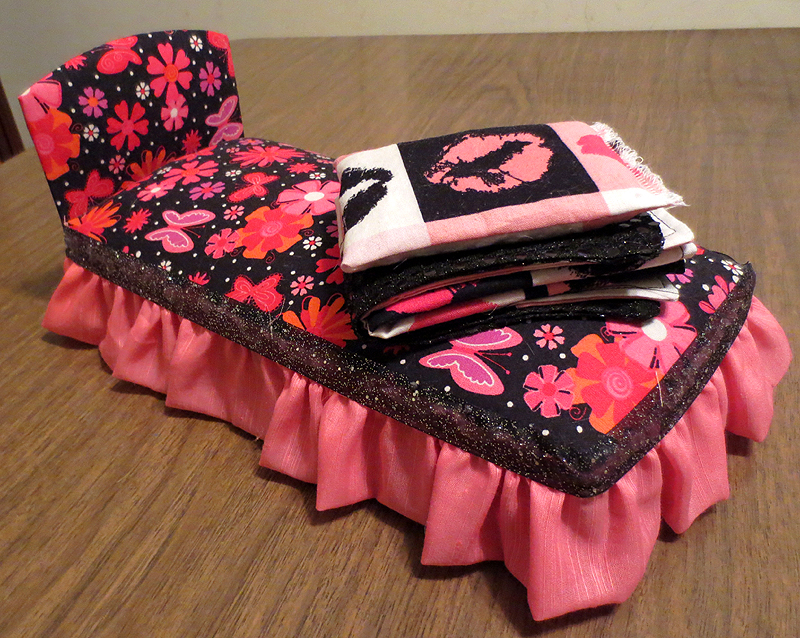
 The pillow is just a tiny pillow case stuffed with lint and serged closed. Easy peasy. The blanket is very thin, just two layers turned and topstitched. I added the black sequin fabric at the top to give it a little drape, that stuff is slinky and heavier than the cotton kisses so it worked well.
Just a note: this bed accommodates all different types of fashion dolls, not just Monster High.
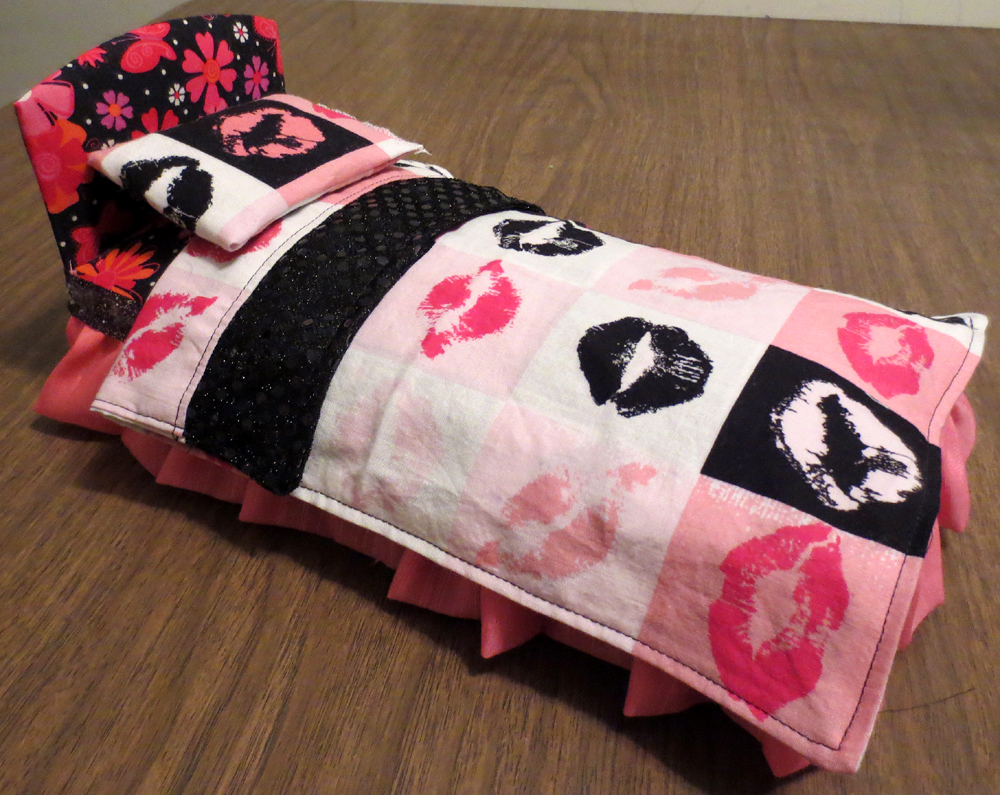 Super easy, super cute, super cheap and way more comfortable than a piece of hard plastic 🙂
Go make one!
Happy DIY-ing!

I love that :3
I enjoyed reading youur post