
School is fast approaching, and my anxiety over it is building.. rushing around every morning, shortened days, leaving my children with bumbling strangers all day.. ugh! I had one more thing to do in preparation and am finally done. I made as many things as I possibly could for Willow, starting kindergarten and being away from me for the first time ever, I wanted to make her as comfortable as possible. So, half a wardrobe later I finally got to the pencil case and crayon roll! She wanted to keep using the crayon roll she has had for a long time so I threw it in the washer and embroidered her name on it! Then of course I had to make one for Gabs, cause she never had a crayon roll, duh! I spent considerable time searching the internet for ideas, I was looking for a tutorial or a picture with a little vinyl window that I could get inspiration from.. but I didn’t find it – if you can believe that! So after deciding on how I would make it, I figured I’d make a tutorial to help someone else looking for the same thing!
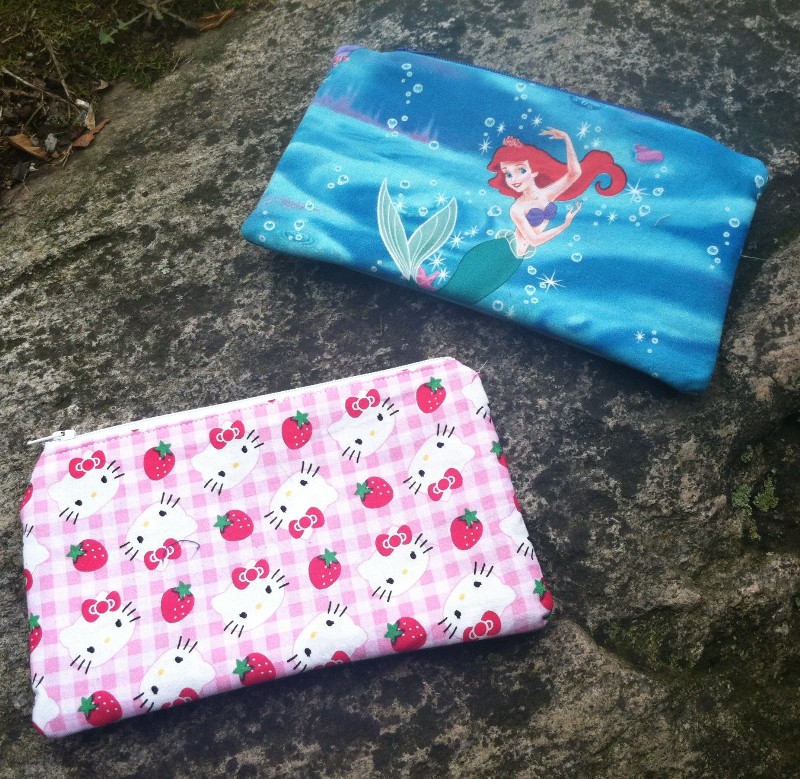
Here is my finished product.
Front:
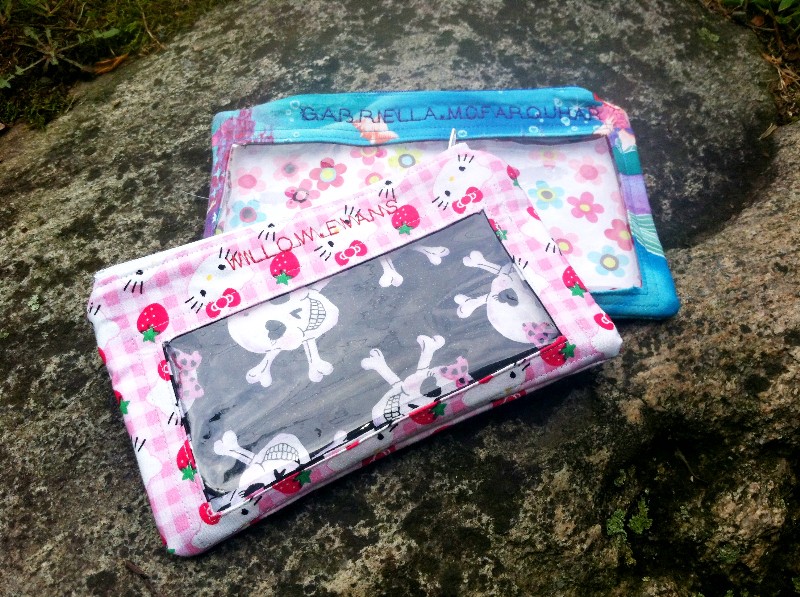
Back:
I didn’t push the corners out all the way.. oops! and the pics are less than great. I only get moments here and there during my day to do things like this and it’s always a mad rush to finish! Oh and excuse my ironing board cover.. believe it or not it’s fairly new! I didn’t get rid of my grams, but managed to mangle the new one just the same 🙂
And here is how I did it, but just a note: This little tutorial assumes you already know how to put in a zipper, use interfacing on the outer and put a little baggie together – it’s really just an example of how to do a vinyl window. Also, you do not need to go out and buy new vinyl, if you have a vinyl bag from something you purchased (underwear, bedding etc) that works just as well and saves you money!
So you cut your fabric and choose your zipper in whatever size you like, however you would normally put a little zippered baggie together.
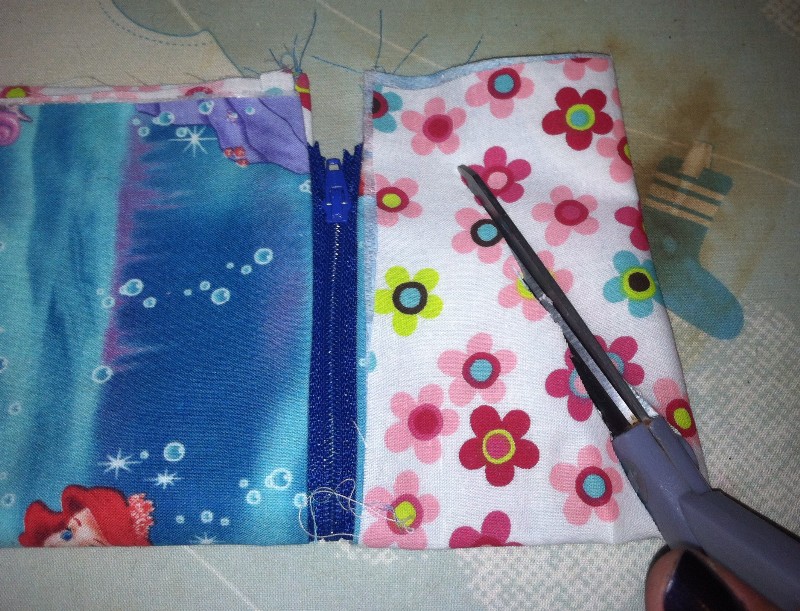
Then you are going to find your center on the side you want to put the window. I fold it up long ways and press, then fold it over and press again – pressing is optional, you don’t really NEED to do it but it is helpful to see the lines. Then you just cut diagonally from the folded corner, stopping about an inch and a half from the edge.
Flip it all the way out and this is what you will see, then you fold the flaps out and press.
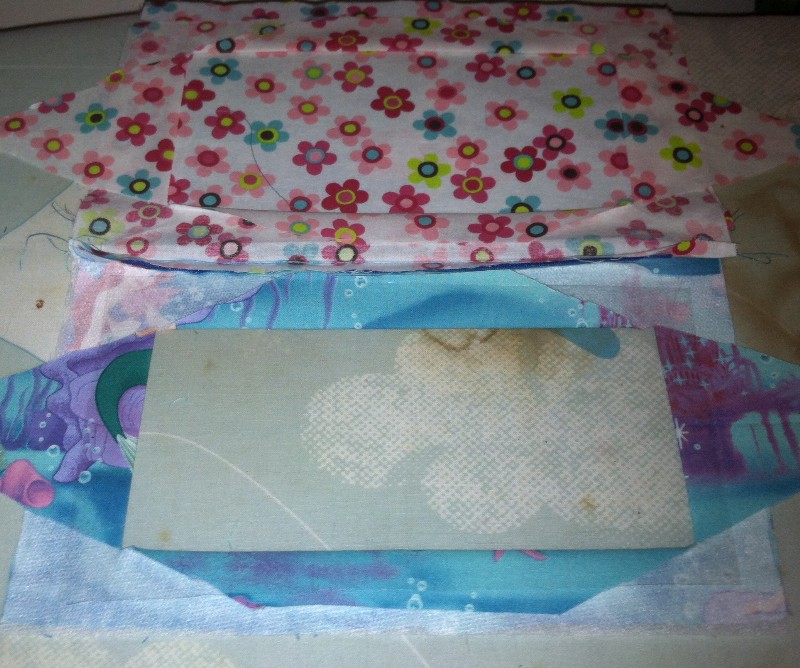
Press both sides. Make sure to pull them out as far as they can go so you don’t end up with fraying in the corners of the window.
Trim away some of the flaps and cut your vinyl to fit. Give it about an inch overlap because you will want to double topstitch for strength.
Fold the lining over and trim away the rest of the flaps. Line up the windows, making sure that the lining is not poking out behind the outside. Then carefully pin, making sure not to pucker the vinyl or put holes through the actual window.
Then topstitch, twice over. You will want to put the first line close to the windows edge and the second no more than half an inch away. Then finish up your bag or project.
And that’s it! Easy peasy vinyl window that you can put virtually any where!!
Happy Sewing!!

Very cute! I always love to see what your sewing~ I’ve been so “craving” cotton fabric, or fabric stores~ We are in the Bahamas and it’s like going back into time…. It seems when you don’t have something you really really really miss it, in my case fabric store :O)